

How we made an HDR rig for VR test drive Jaguar F Pace. Part 3. Postproduction
Well, shooting was done.
Here you can find two previous parts of our work Part1. Preproduction and Part 2. Production.
What did we have:
Footages from three custom GoPro 4 Black with Japanese lens Entaniya Fisheye 220. Resolution 2.7K, aspect ratio 4:3, frames per second 30 FPS.
The First camera shot.

The second camera shot.

The third camera shot.

3 useful (we used one of them as reference) footages from the rig lower row. Resolution 4К, 30 FPS:
Front

Right
Left
And 3 more footages from cameras, which were used for occlusion removal.

Then we were to stitch and compose such a panorama using that footages.

That’s all! Done? Not at all!
Fist of all, a war was waiting for us…
The war against the infamous jello effect.
First stage. Stabilization
Making a stable car-grip for a car in which the ace is drifting at full speed is quite a task. And as you can guess we had to carry out stabilization at the postproduction stage. Besides, we had a hefty rolling shutter on the cameras with Entaniya.
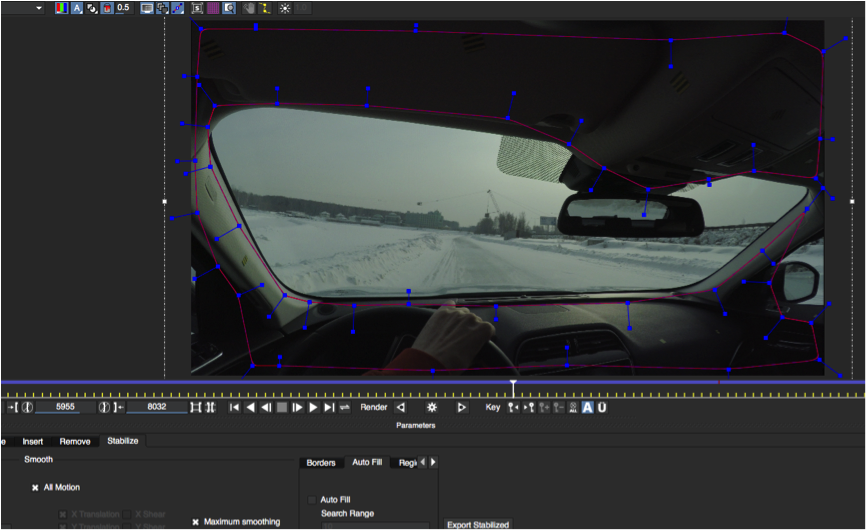
Not a single software solution brought satisfactory outcome. But we were keeping head up and eventually our savvy and a marvelous program from Imagineer Systems – Mocha Pro relieved our misery.(https://www.facebook.com/ImagineerSystems) The program has gained widespread recognition among video compositing specialists all over the world. And we found a very interesting function in it. You can select a separate shot fragment and stabilize it independently.
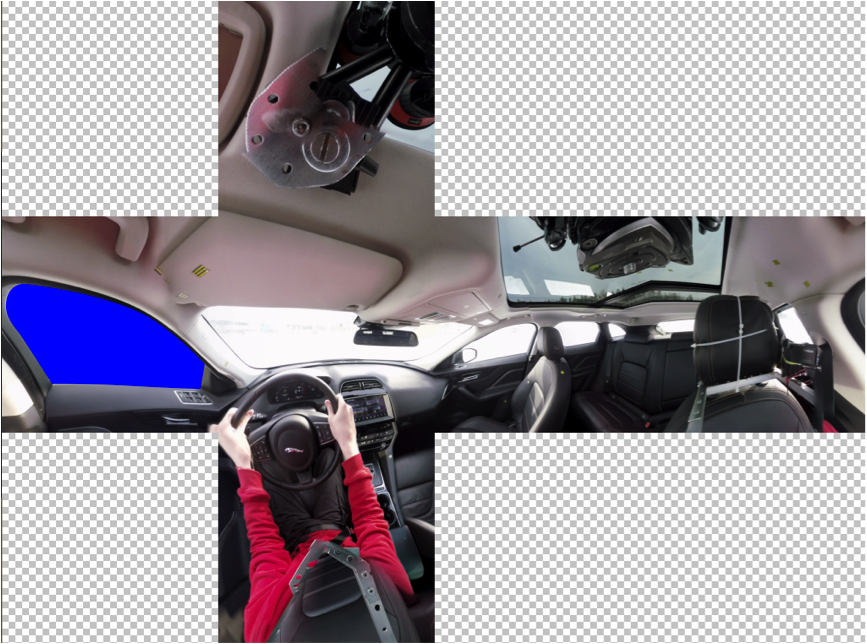
So, we chose shot areas, stabilized them, and “hid” stitches between them into places with fewer details.
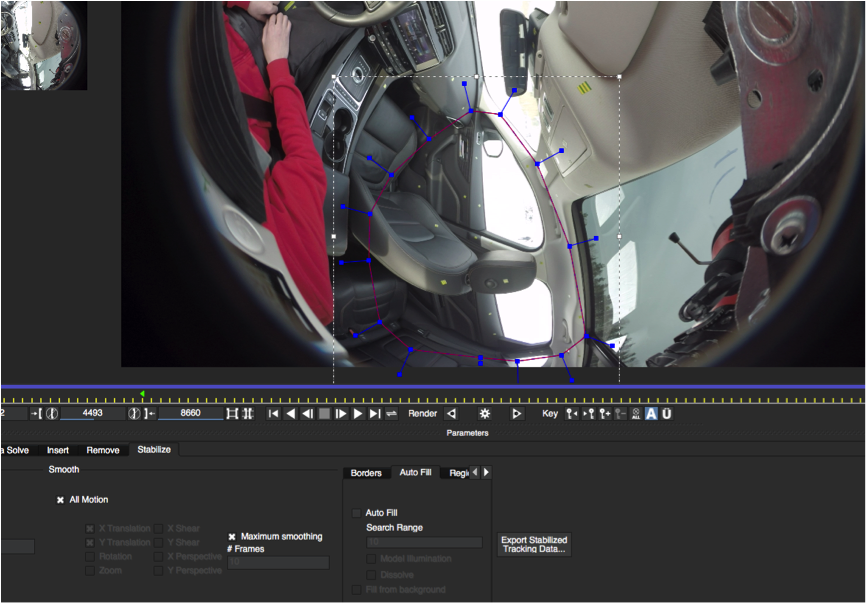
This magic function helped us to stabilize and remove rolling shutter on exterior cameras too. All you need is to choose a static area fit for stabilization – and you’re done.
Heigh-ho! Move on!
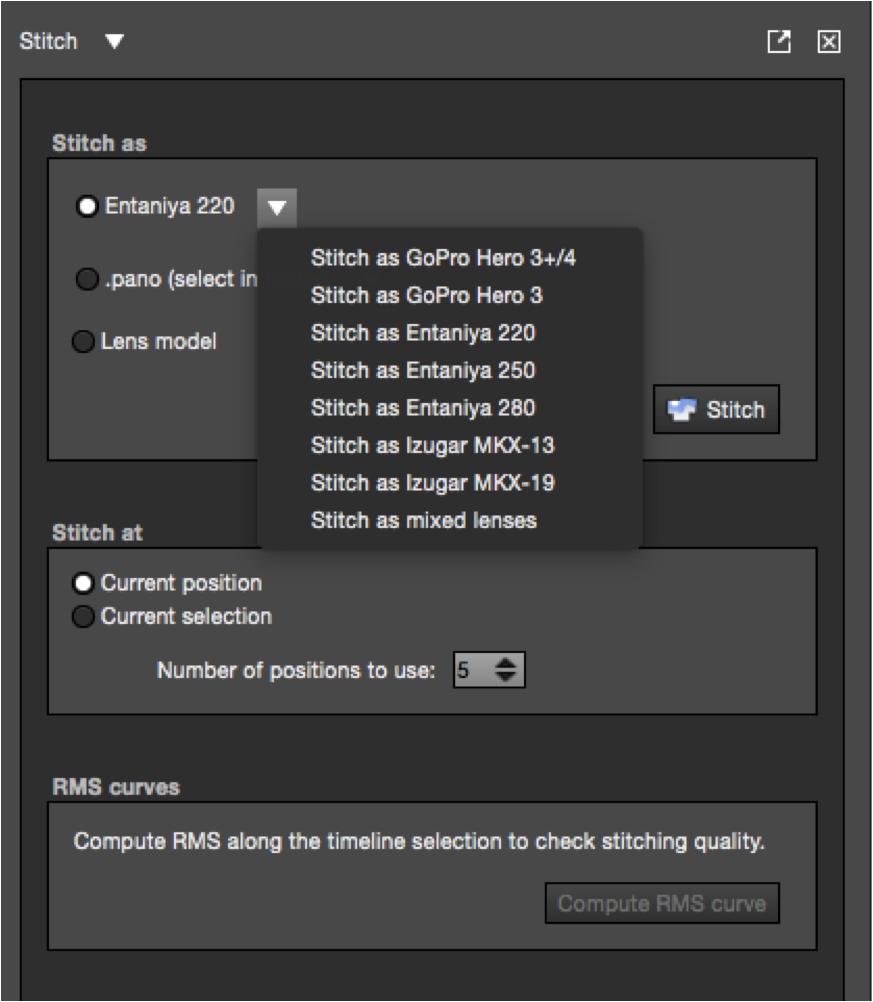
Second stage. Stitching
For stitching, we used industry leader Autopano Video Pro. No particular troubles, since the program features all presets for Entaniya lens.
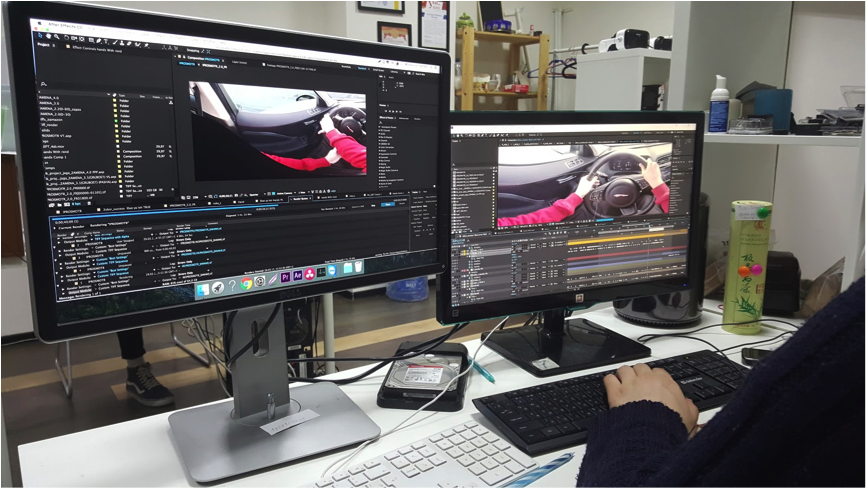
Third stage. Compositing.
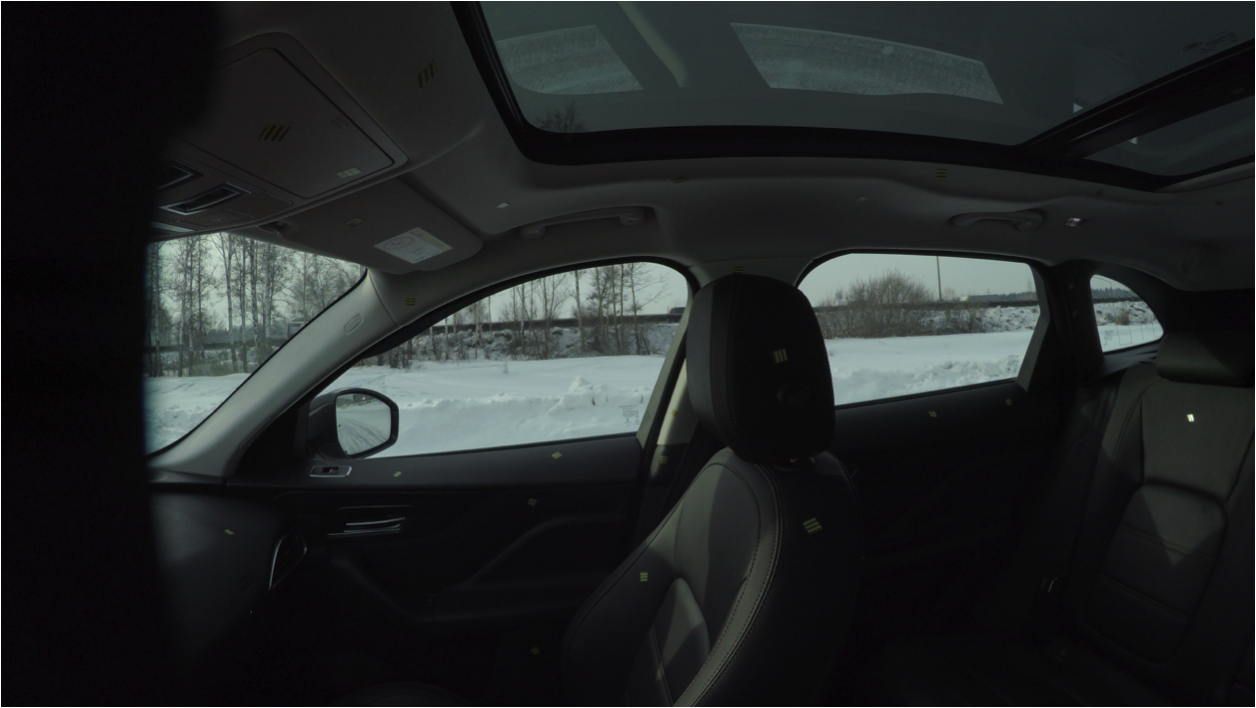
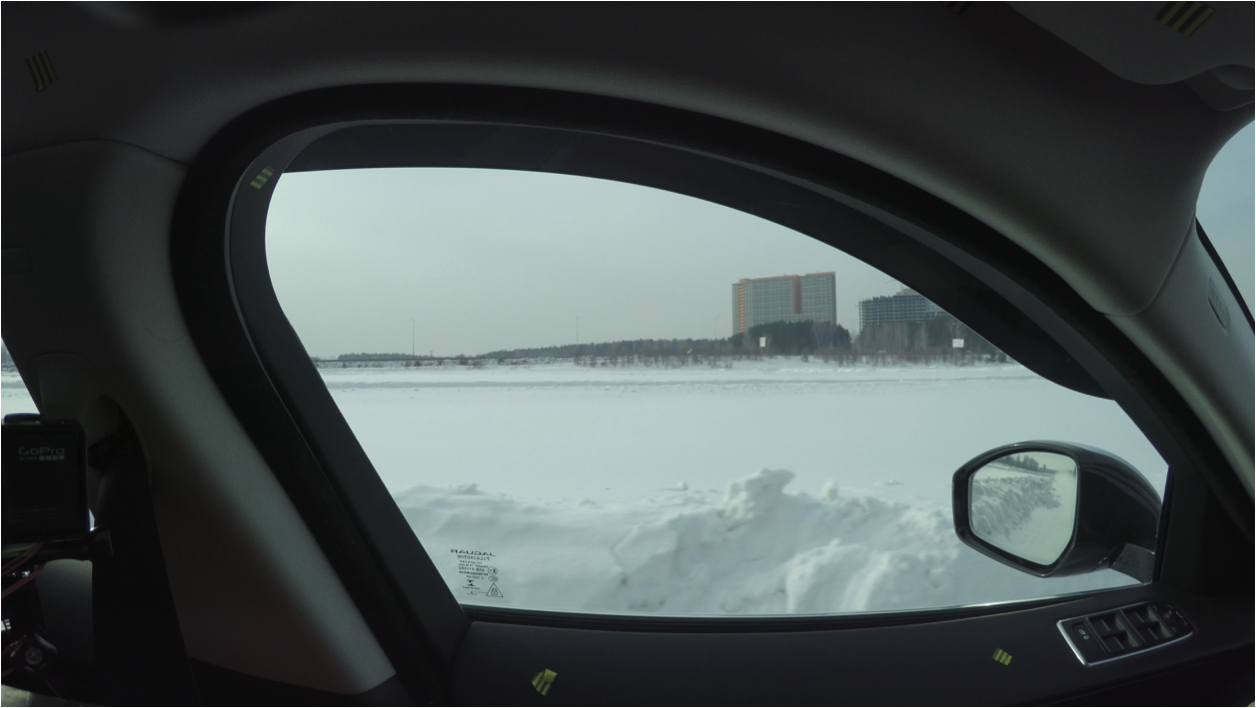
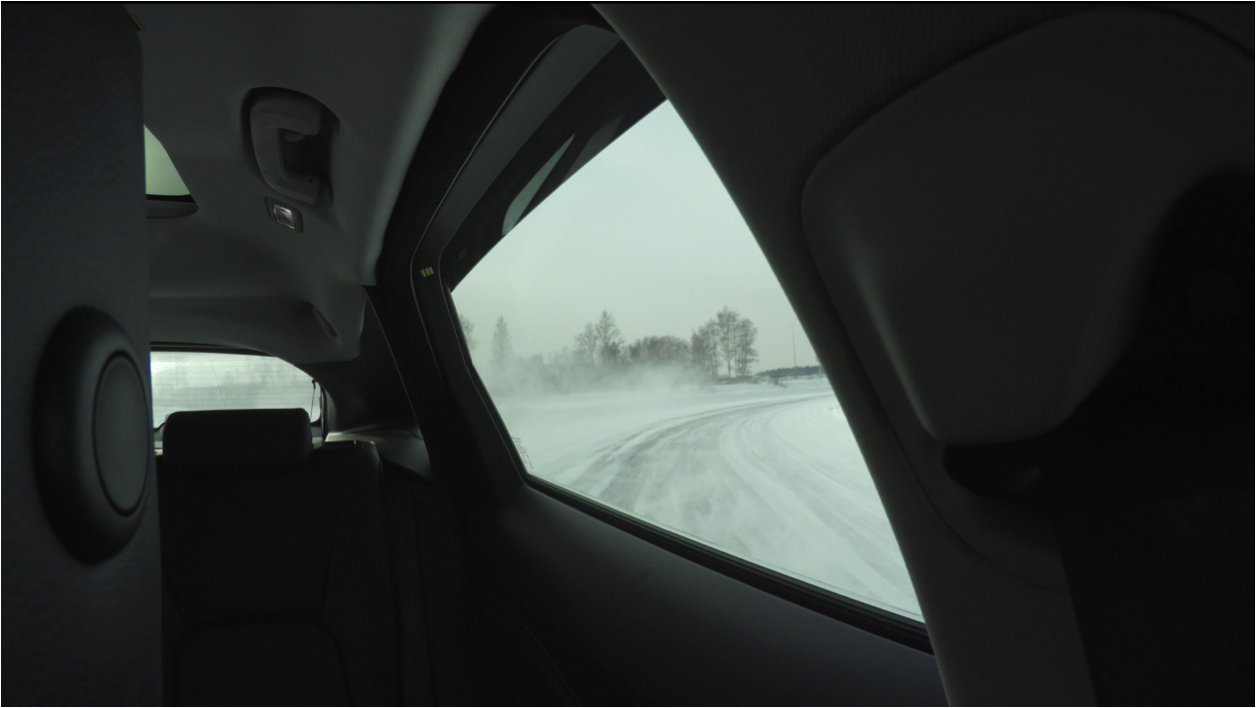
Then we had to compose the view from windows to the cabin.
We used Skybox Studio V2 plugin of Mettle company for Adobe After Effects. The plugin allows converting an equirectangular projection into a cube-map one and, therefore, avoiding problems with spherical distortions.

To recover conspicuous parallax errors between windows, we slightly deformed window footages.

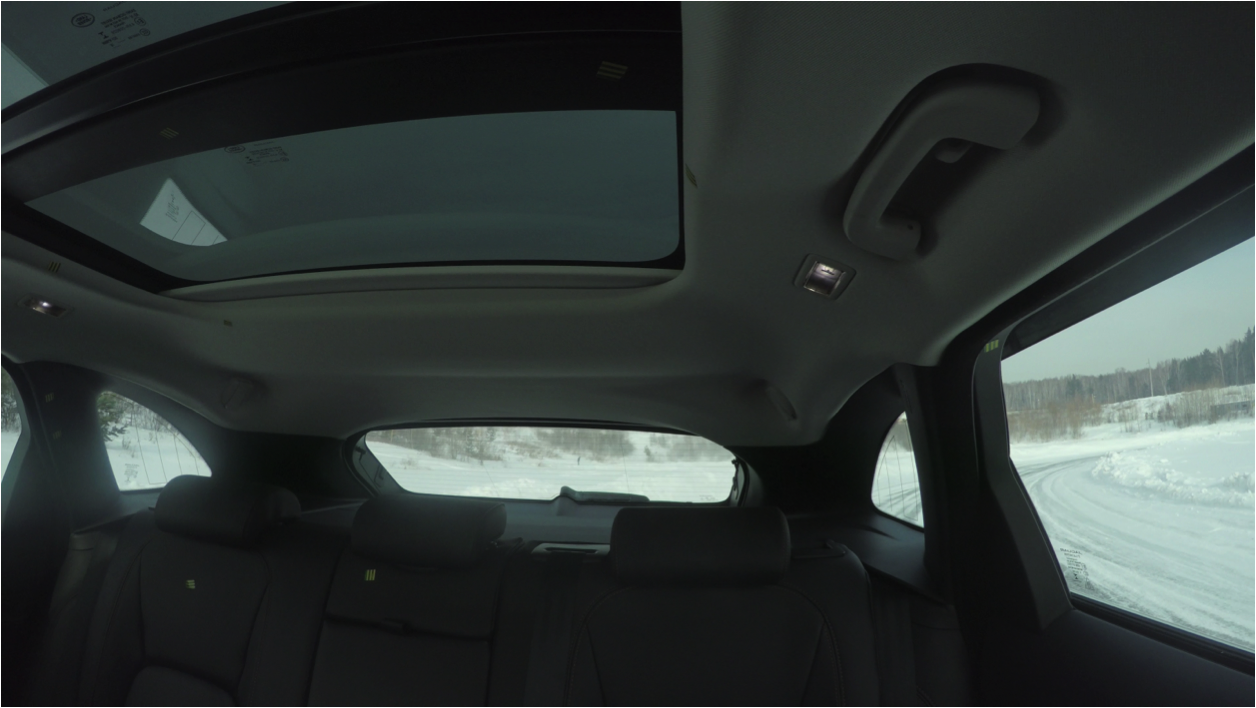
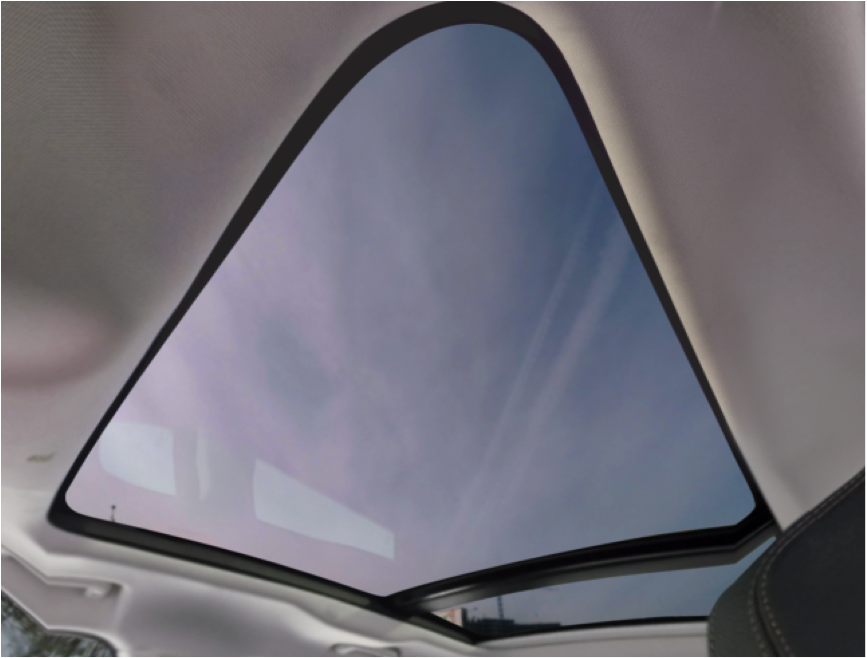
We also took care of details. For example, we made a tinting effect and reflections for panoramic window.
To remove some stitches we used keying (with the help of Magic Bullet Colorista Iv – a great friendly interface for keying, check it) and, naturally, rotoscoping.
This is what we had. Compare:


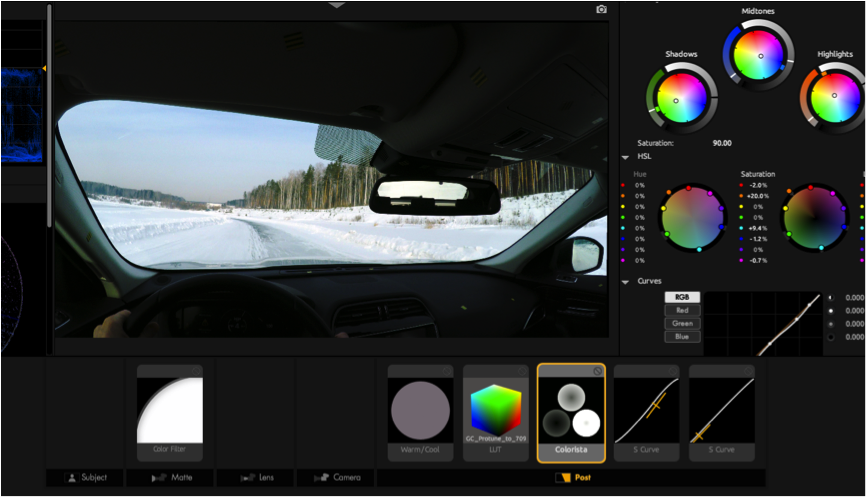
The Forth stage. Color correction.
When color correcting, we made a decision to avoid third-party apps and were painting in AE using hardy beasts from Red Giant Magic Bullet – Colorista IV and Looks. Perhaps, some inexperienced users of DaVinci Resolve will make a wry mouth, but let them be! Meanwhile, we carried out the same actions using these handy and simple plugins, avoiding additional rendering, reconforming and hugely expensive video cards.
The 5th stage. Rendering.
The tired composers are sleeping, and stitchers are asleep… And towards morning the ready render is awaiting guys!


Jokes aside, the pipeline featured about 6 intermediate and final renders. We worked in 8K resolution in the final panorama. Used Cineform, Prores HQ coders, and Tiff sequence at different stages.
So this is the end. If you guys have any questions don’t hesitate to contact us. We are glad to answer.